Showing posts with label renovations. Show all posts

Wednesday, 20 February 2013

My Naked Entryway

My brother is home from his University reading week this week, and I went with my mom to pick him up at the bus station on Saturday.  We stopped at Wicker Emporium on the way there.  I wish I could buy everything in that store.  They have awesome furniture for really reasonable prices.  I have been looking for a table for our front entrance since we moved in.  The problem is, there isn't much room there.  The maximum length is 37 inches.  Most hall tables seem to be at least 10 inches longer than that.  I also don't want anything too bulky, because the entry isn't huge and you come through it to go into the living room.  I don't want it to seem crowded.  So we found this in the store.


It's 36 inches long and about 11 inches deep.  Perfect!  What's not perfect is the colour.  I just don't really enjoy the red.  And the only other colour it comes in is cream.  At first I thought about being all DIY and repainting it.  Then I thought better of that idea.  Chances are I would screw that up and then be pretty upset about ruining it.  It's a good price, but not good enough to destroy!  I feel like this space is just meant to be empty forever, and it makes me sad all day. 

So I guess the search continues.  What fun would decorating be if you found everything you needed right away?
Photobucket

Monday, 14 January 2013

Unveiling the Bathroom Makeover

The upstairs bathroom was the only room on the main floor that we hadn't done anything with.  Now it's my favourite room in the house.  Here is what we started with.  Dull and dreary with a lovely floral border.

And of course the bathroom light we were dealing with for the past year.  The bathroom wasn't that bad actually, we could deal with it.  But now I love it!
Here she is!
 
My fantastic husband did the whole thing on his Christmas break.  It pays to have a husband who works for a kitchen company.  He built the vanity himself.
I love the detail in the cabinets.  We went a bit overboard/over budget with the fixtures.  I really wanted these fancy drawer pulls, but they were worth it.
I also required the fancy faucet.  
Ryan also built a frame for around the mirror.  I think the light is an improvement as well.


This may seem like a little thing, but Ryan built new shelves for the linen closet and made them so that they didn't come out as far so that we could hang our towels in the closet,  out of sight.  This works well since we registered for brown towels when we got married and brown towels would drive me crazy if they were visible all the time.

I'm in love!  It makes me happy every time I go in there!  

Photobucket

Friday, 7 September 2012

The Room Where We Live

Also known as the Living Room.  What an appropriate name. 

I am hoping for some improvements in the form of wall art in the next little bit, but until then, here is an update on what we have done with our living room.  But first, here is a reminder of what we started with last December.

I think that because of this here picture I will be moving our hall tree.  It looks awkward there.  But it is a beautiful antique hall tree that we received as a wedding gift. 

My mom made these curtains for me.  Perhaps the last curtains she will ever make.  I don't think she had a good time working on them.  She had bought the dark brown material a few years ago for cheap.  The lighter brown is from Ikea.  We bought three packages of these curtains, for a total of around $80.  My mom sewed three of them together for each side.  The light brown ones can close if we want them to.  As much as I'm sure my mom hated making them, there is noway we could have gotten anything like this for as little as $80 anywhere else.
Little details include this super awesome lamp from Homesense, a wee wedding picture, a dice box that has five dice in it from our honeymoon in Jamaica.  On the bottom end of this picture is a box that I bought for our blankets from the Antique Warehouse, as well as a sewing table from the Antique Warehouse that we use as an end table.  It opens up but I haven't hidden any goodies in it...yet...
Isn't the little frog cute?  My mom and dad have one, and when I found one at the Keady market on our cottage holidays I just couldn't resist.  The candles are made by Ryan's talented dad. 
So that's what we have so far.  It still needs a fair bit of work and decorating.  Nothing in the room is overly expensive, but it's comfortable.  Coming up in the near future, I have ordered wedding canvases for above the couch.  I also plan on adding some of these picture ledges from Ikea to the wall behind the TV.  I think this will go a long way in this room. 

Friday, 29 June 2012

Inside My Office

Oh here we go with another unfinished room!  But this was the tidiest I have had the office in quite some time so I thought I would upload some pictures of it.  It's a room that tends to collect papers - bills, school work, anything that doesn't have another home.  Sometimes my gym bag lives there.  I close the door and pretend it doesn't exist.  It works for me.

I spend a lot of time in this office.  I really really like it.  Considering it's our future nursery, I don't know what I will do when baby comes some day.  Let's not think about that.

First off, here is the office before. 

The wall colour and carpet is the same as our bedroom, minus the teal wall of course. 

It still needs art. (What room in my house doesn't).  I'm thinking white Ikea frames to brighten up the walls.

My sewing machine has yet to be used.  I need a lesson or two.  Please notice that little grey box.  That's the foot pedal.  It's still packaged. 


The curtains are hand me downs from my brothers room.  What is better than free curtains though? Well chocolate is, but that's another story...


This blog is getting real right now.  Because the clean version of this room is a disaster.  Ignore the mess that is the bookshelf.  And the fact that Pipsi photo bombed most of my pictures.


Wednesday, 16 May 2012

Making an Old Kitchen New Again

Our circa 1982 house came with a circa 1982 kitchen.  Oak cabinets, and I believe something known as Beige Onyx counter top. (My uncle in the kitchen business says that there were basically 2 counter tops in the 80’s, our kitchen counter top in beige, and the same thing in a green, which just happens to be what’s in our bathroom!).  Issue: We can’t exactly afford a brand new kitchen, and we don’t want to spend too much money putting in a kitchen that isn’t going to get us through the next 20 years.  So, we decided to make a few adjustments.
Lucky for me, Ryan works for said uncle and has some major kitchen creating capabilities.  This really helps out when you are trying to keep costs low.

Here is a before picture of our kitchen.  I can't seem to find a picture of the wall with the stove and the fridge.  1500 house pictures and no pictures of that side of the kitchen.  I have failed.
First we made a few big changes.  We took out that peninsula and turned it against the wall.  We did the same with the overhead cabinets.  We also got a new counter top.
                             
We wanted to work with the cabinets that we had, so we just restained them to freshen them up.  Although they were washed ahead of time, the nicotine damage to them was too severe and the stain bubbled off of the cabinets.  Unfortunately this is the way it will stay for now.  When you stand at certain angles you can't tell!
 We also chose new handles that weren't 30 years old.  They make a big difference.
This side of the kitchen is completely new.  Because there was only a 24" stove there before and the fridge was a different size as well, nothing really fit together.  So Ryan took out all of the old cupboards from this side and moved them around to different parts of the kitchen.  So these cupboards don't have any of the issues that the other ones did!
We went with track lighting since the light that Ryan hated didn't work out.  It is much brighter and works perfectly.
There is so much more counter space now.  We can both work comfortably in the kitchen without getting in each others way.
Ryan also built the microwave shelf to give us some extra room on the counter.  He's super handy.

Oops, excuse the mess.  We try to keep this organized, but sometimes it just doesn't work.  This section was added on to the end of the counter and had to be angled so that it didn't feel too cramped when walking through to the door.  We use it for bread, keys, and my lunch box mostly.  There is clearly also some other miscellaneous junk on it right now.
We are really happy with the overall result.  There is a lot more room and it seems pretty fresh considering that the cupboards are still original to the house.  Moving the peninsula really opened up the room.  And we actually have more cupboard space then we know what to do with! What more can a girl ask for.

Wednesday, 9 May 2012

Painter's Paradise

Time for another house post. They are all so overdue. It's embarrassing!  I was supposed to be updating this blog as the work was going on, but life is busy and so it just didn't happen.  But here is a post about the painting that we have done.

Unfortunately for me, I'm not a painter, so this was not paradise.  This is just another post full of pics of the renovation process.  We painted almost 1200 square feet....that's floor space, so multiply that by 4 walls and the ceiling, and minimum of 3 coats on each wall.  Eek.  That's a whole lotta paint.  We had figured out how many gallons we used, but now I forget, so all that I know is that it was a lot!

Choosing paint makes me nervous.  I chose the paint for Ryan's last house and failed on all three colours that I chose.  Luckily, this time I wasn't a failure!

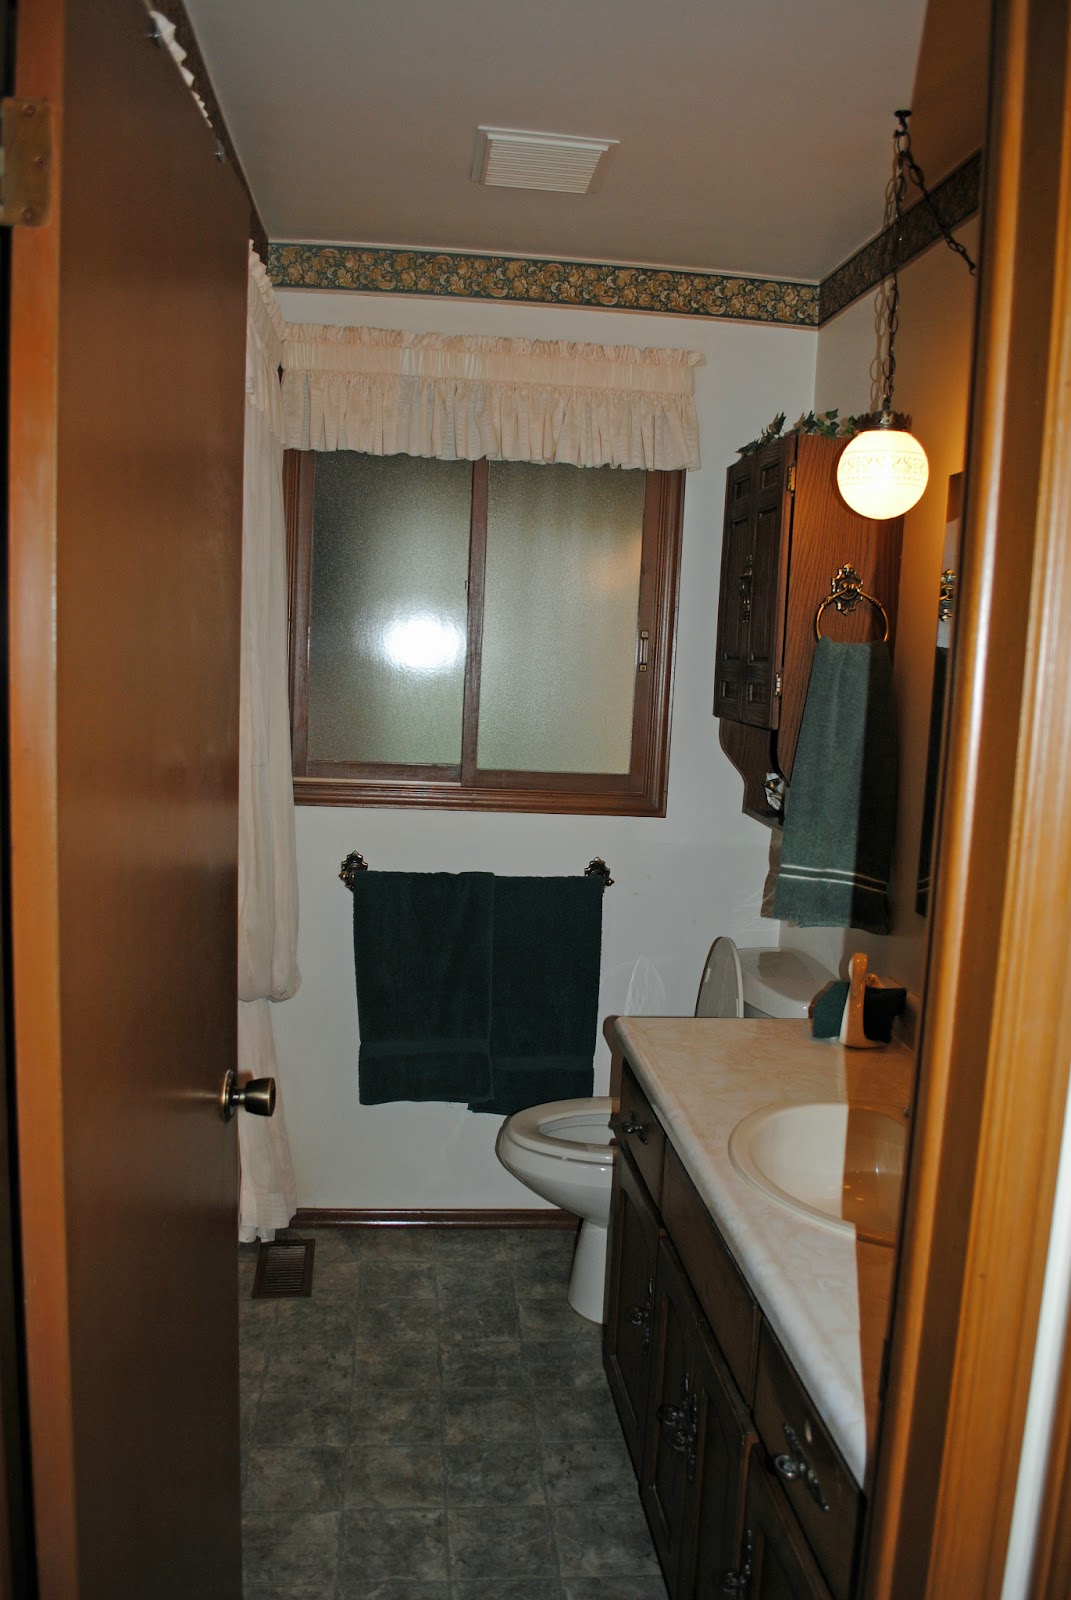
First things first, we had to prime.  Since our house had some extreme smokers in it, it was heavily damaged by nicotine.  We had to buy BIN primer which blocks out stains.  It was crazy expensive, but very necessary. 
The kitchen - only cut in with primer
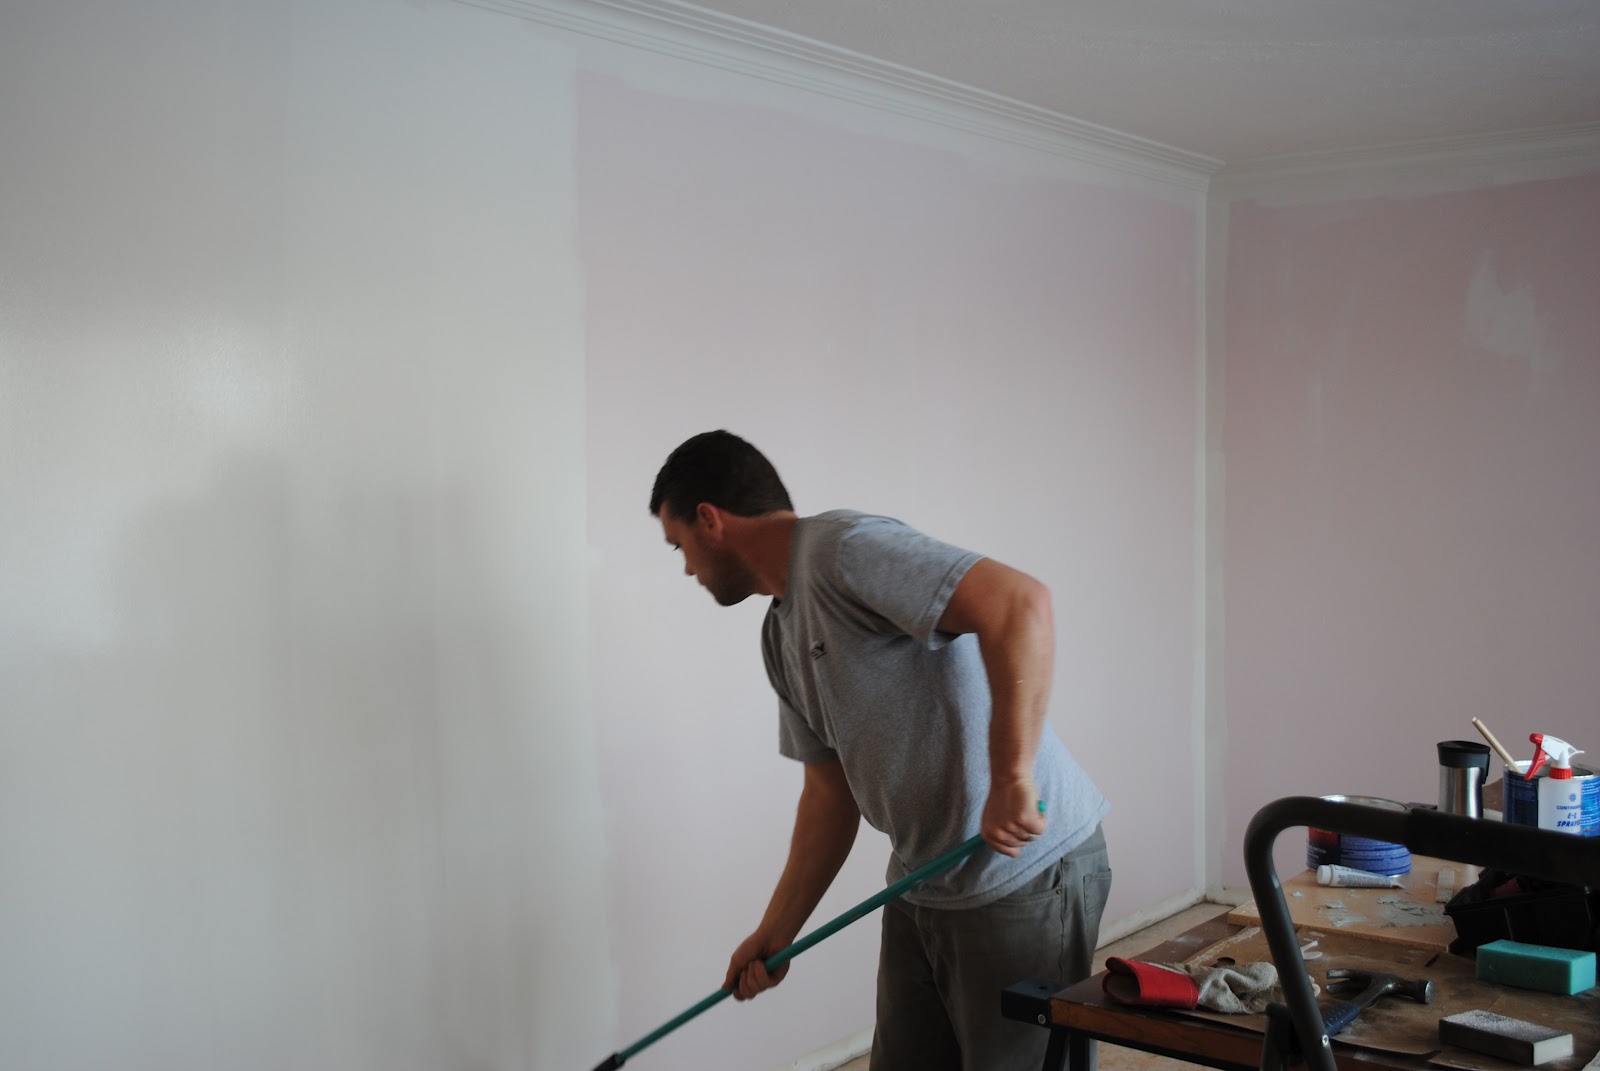
Ryan - priming the living room
We wanted a neutral colour for the living room, and to create continuity throughout the house we decided to go with the same colour for the kitchen, hallway and spare room.  Originally I was going to go a shade darker in the living room than in the kitchen, but it just seemed easier to do it all the same.  Plus we saved money by buying a five gallon pail of paint!

We also painted all of the trim in the house.  This was a job in itself.  There is a lot of trim, and it all required priming and painting multiple coats. 
We didn't want to paint the pocket doors, so I put painters tape over the edge to avoid painting it.  Other than that we didn't use painters tape.  If you can be precise enough with your cutting in, you can create much cleaner lines without it and don't have to go to the work of putting it all up.
Lucky for us we did have some helpers.  Ryan's parents helped a lot, my dad helped, and cousin Crick stopped in for an afternoon to help.
 
The ceilings also had multiple coats of primer and paint.  Ceilings don't look bad until you put a new coat of paint on them, then you see how yellow they were.

Priming our bedroom

I can't really tell if he is painting trim or touching up the living room

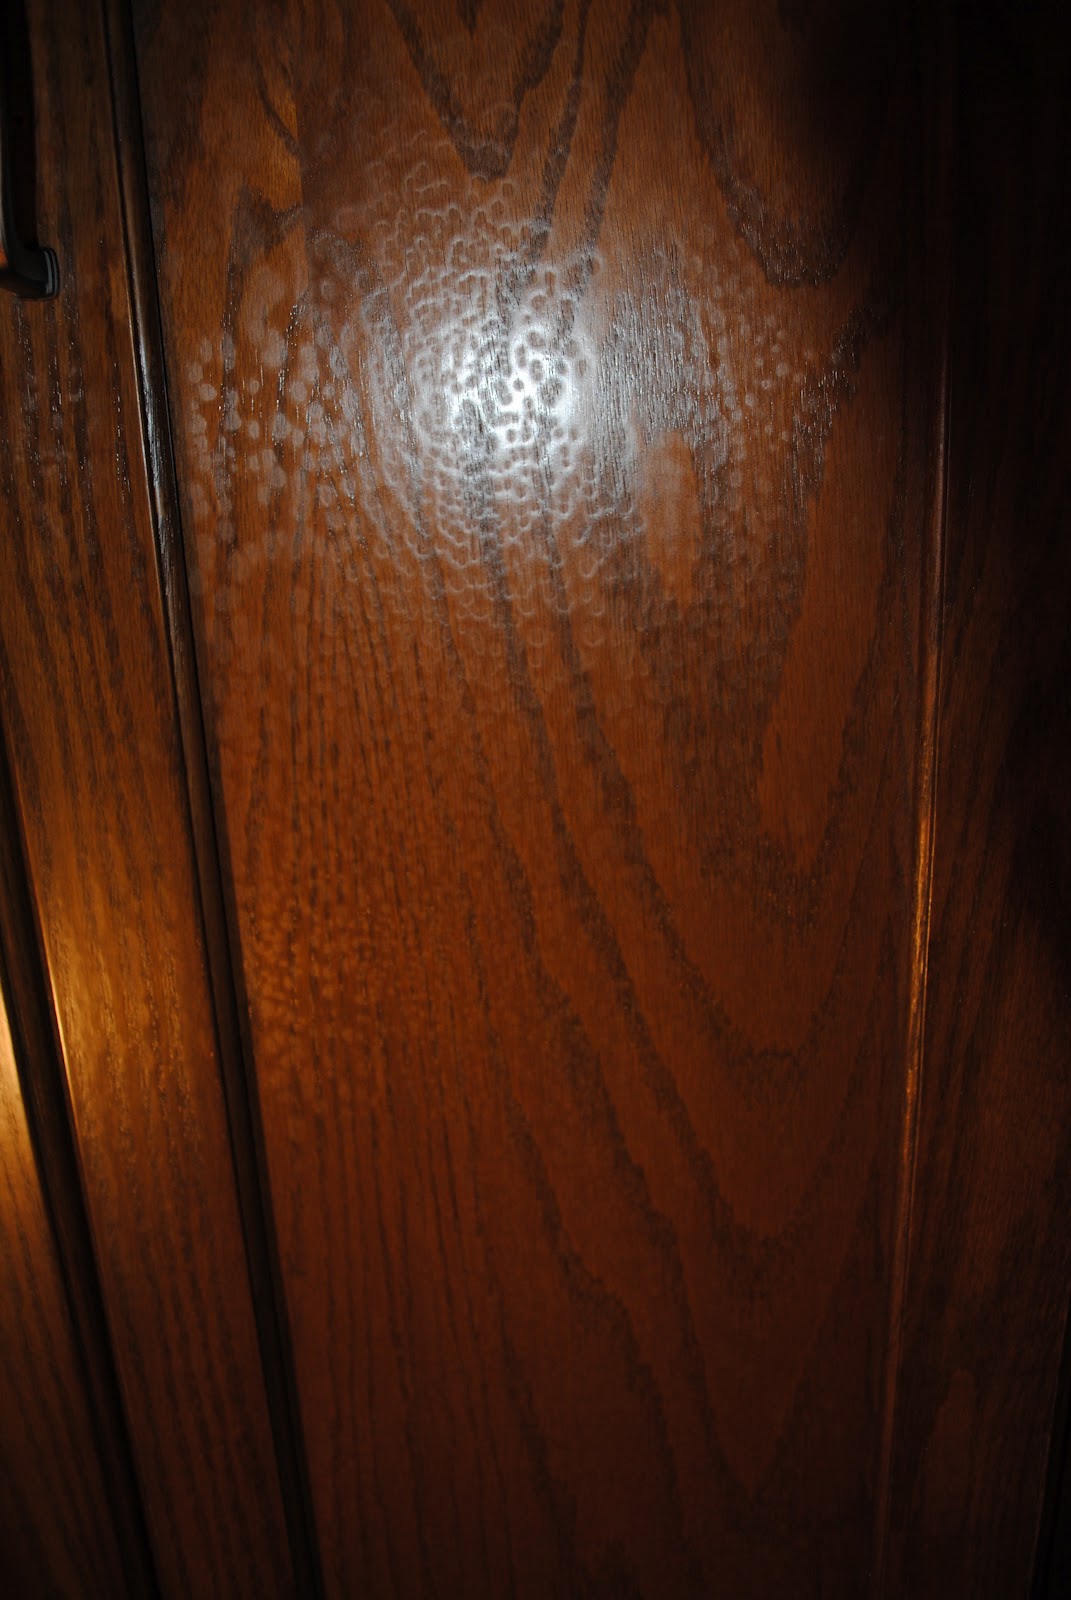
We also painted the wooden windowsill to freshen it up

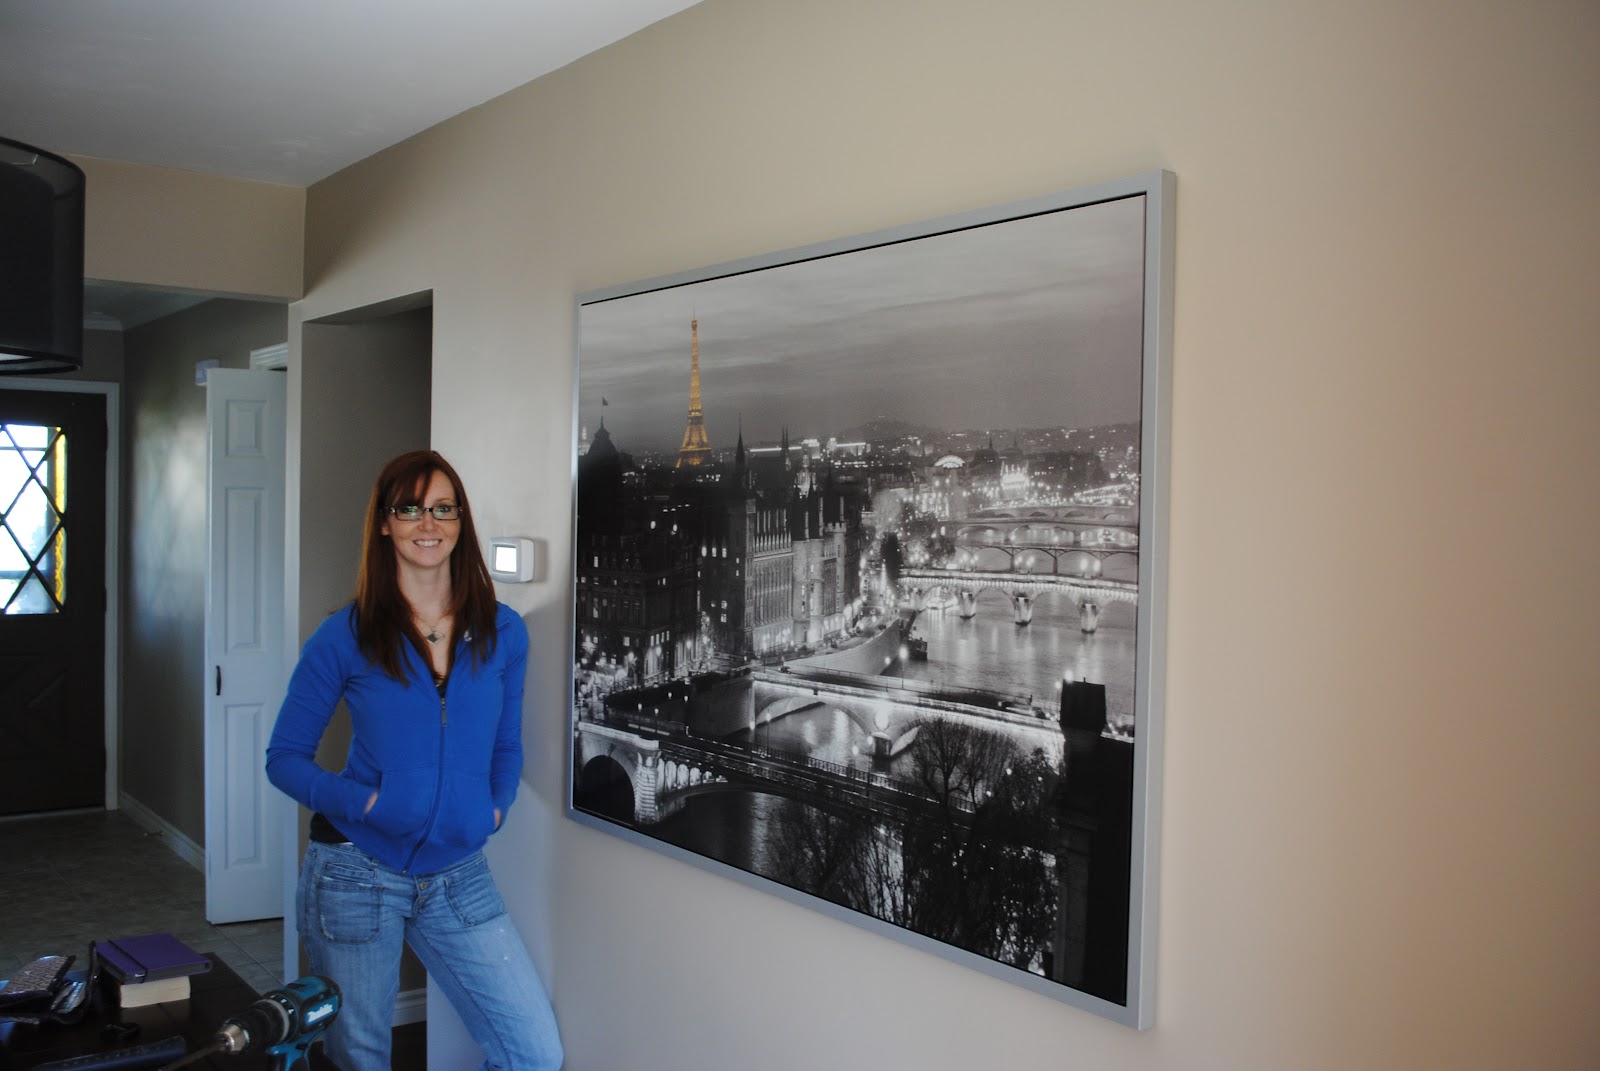
The completed living room
So there's the priming and painting.  Of course we also did our bedroom and the office.  They were the same grey and the bedroom had a teal accent wall.  And I'm still happy with all of the colours!  They are all neutral enough that we shouldn't tire of them too quickly and we can just update them and change things up with different accents.

Thursday, 3 May 2012

Paris in My Kitchen

We finally hung some art in this house!  First one to go up was this massive Paris pic from Ikea.  I have loved this picture for years, but it is so big that I never had anywhere to put it.  Now I do.  It makes me ever so happy.

First things first.  We marked the wall.  Lots of marks.  The middle of the picture, the height we wanted, where the two screws needed to go. 
   
The picture is so big that we wanted two screws in the wall to hold it and to keep it straight.  So we measured out from the middle of where we wanted the picture to be on the wall to about 17 inches on either side of it.
Ryan made sure that the marks that we made were level with each other.  Very very important.
 
Then he drilled the holes.  I'm glad he has the nerve to do this.  Holes are semi-permanent and scare me, cause I would screw it up.  We put anchors in the hole to make it more secure.
Then he hammered screws into the anchors to hang the picture on.
After that, I tried to hang the picture.  It was too heavy for lil old me, so I needed Ryan to help.
 And voila!
  
                                      
  Isn't she lovely? I like her.